
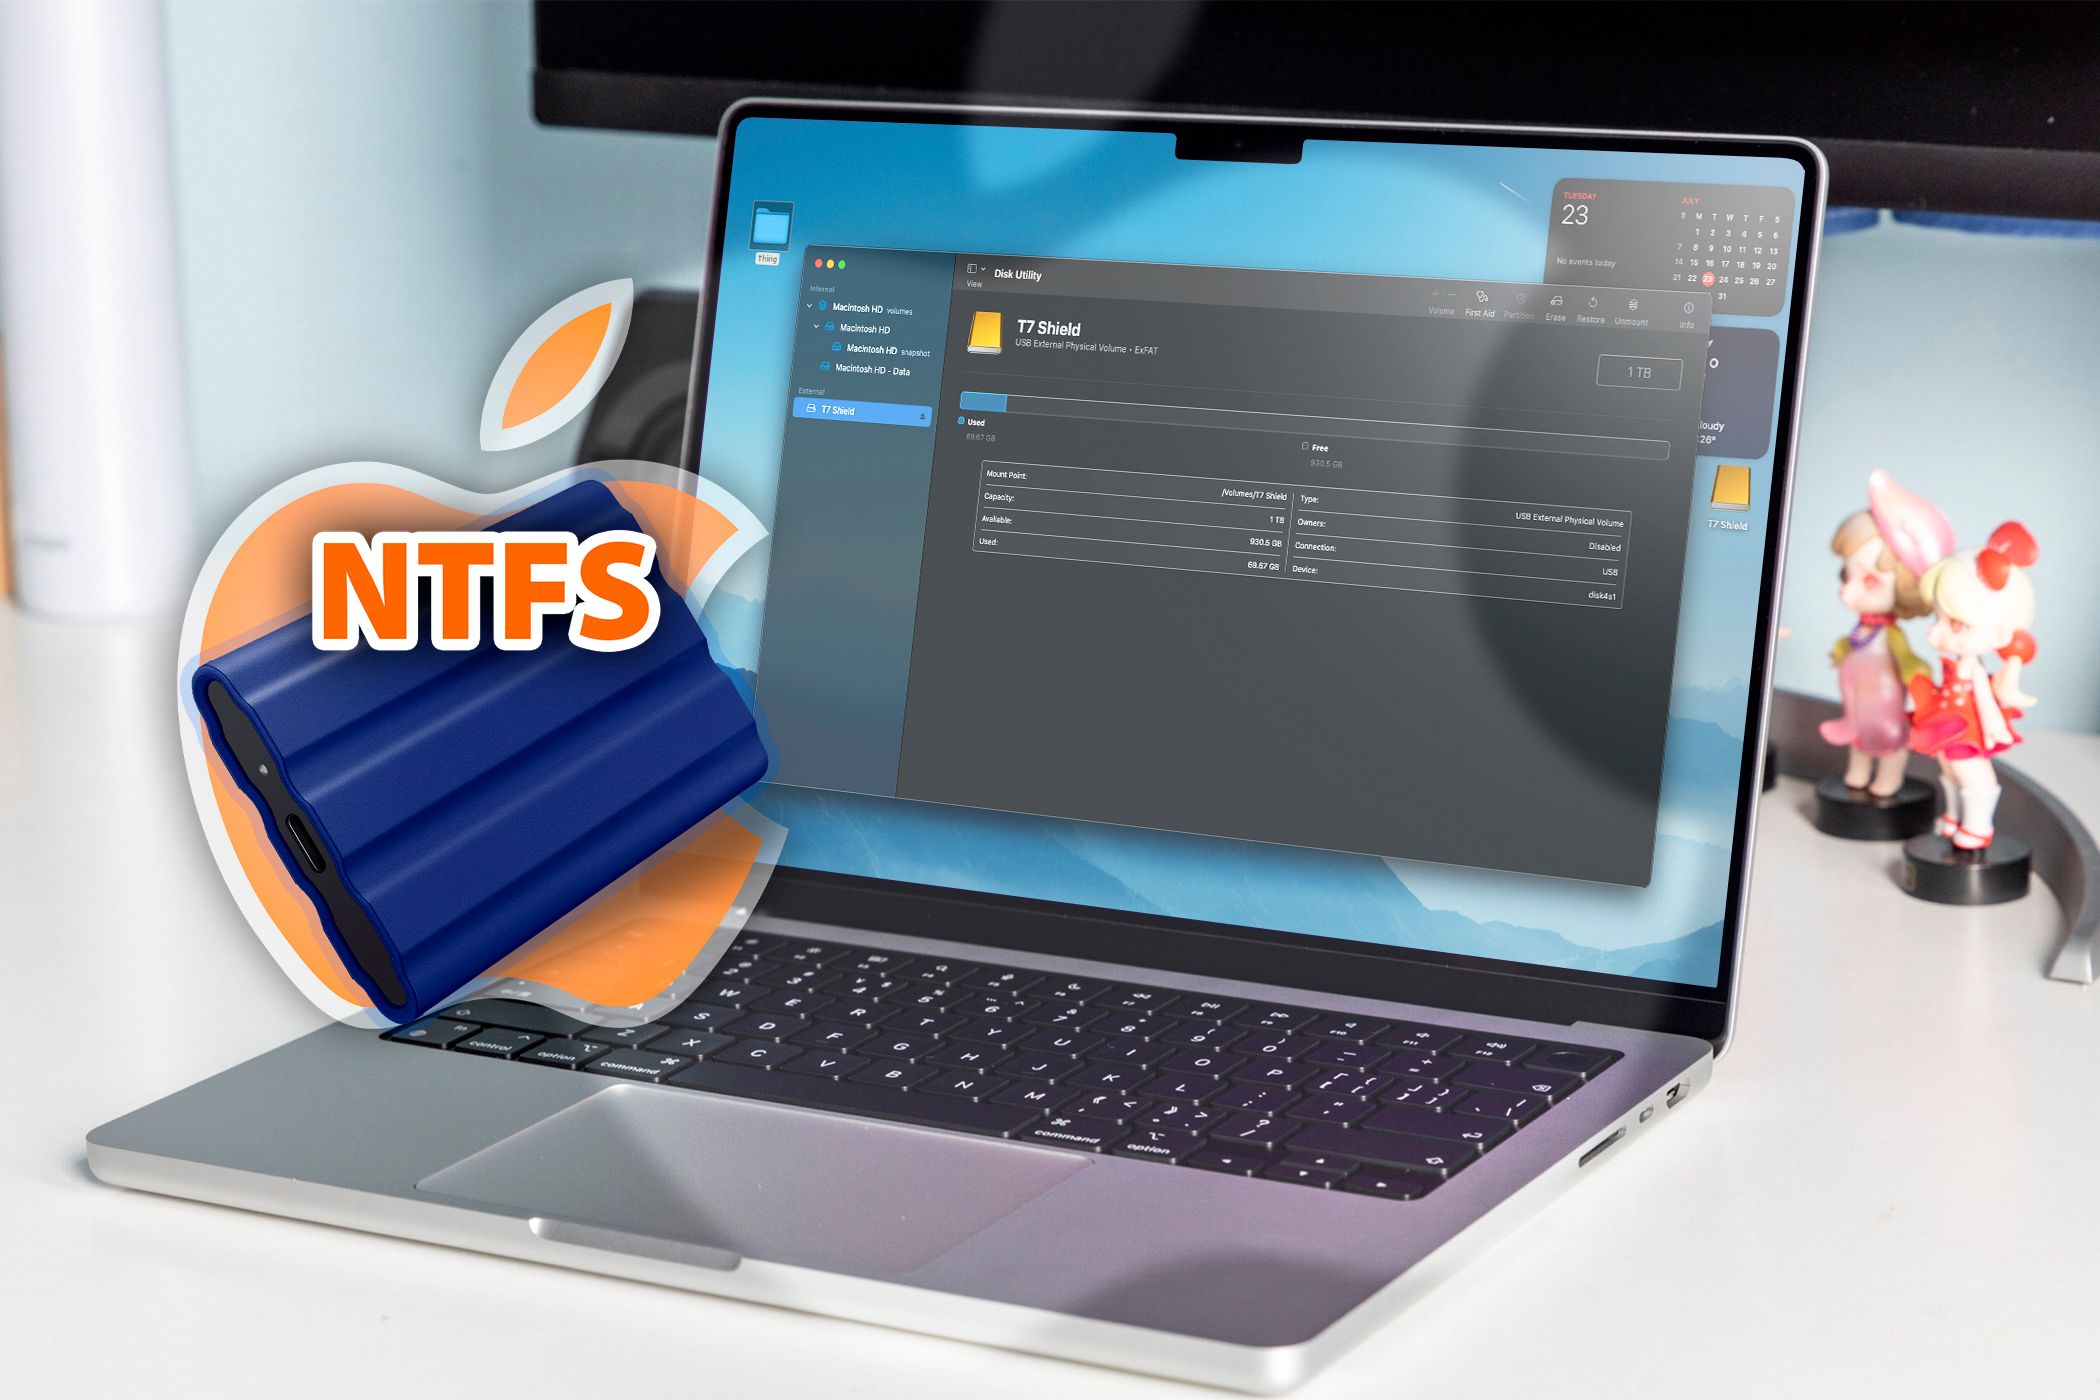
How to Use an NTFS Drive on Mac: 3 Methods
By default, macOS can read and copy files from NTFS drives but cannot write to them, and to enable full access, you’ll need to use a workaround. But don’t worry; we’ll teach you how to read and write to an NTFS drive on a Mac.
1. Format an NTFS Drive to FAT32 or ExFAT
If your NTFS drive doesn’t contain any valuable data, formatting to FAT32 or ExFAT is the simplest solution for sharing files between macOS and Windows.
Once you’ve switched to a cross-platform compatible format, you can read and write to your external disk on both Windows PCs and Macs. While either FAT format will work, FAT32 has several limitations, including a 4GB file size limit. Therefore, in most cases, ExFAT is the superior choice.
Here’s how to format a hard drive to FAT32 or ExFAT on macOS:
- Launch Disk Utilityusing Spotlight search on your Mac or the Launchpad.
- Select your NTFS drive from the left sidebar and click Erase in the toolbar.
- Switch the format to FAT32 or ExFAT, rename if necessary, and click Erase.
Once you complete the process, your external drive will be in a format that’s fully compatible with both macOS and Windows.
2. Use a Third-Party App to Write to NTFS on Mac
If you need to stick with NTFS and can’t use another format like ExFAT, you’ll need a third-party app to write to your NTFS drive. I recommend Mounty because it’s free, open-source, and has a simple user interface.
Before using Mounty, you’ll need to install Homebrew on your Mac. If you have an Apple silicon Mac, make sure to enable kernel extensions. Here is how you can install and use Mounty on your Mac:
- Open Terminal on your Mac and type in the following command to install Mounty along with all the required dependencies:
brew install - Open Mounty via Spotlight or the Launchpad.
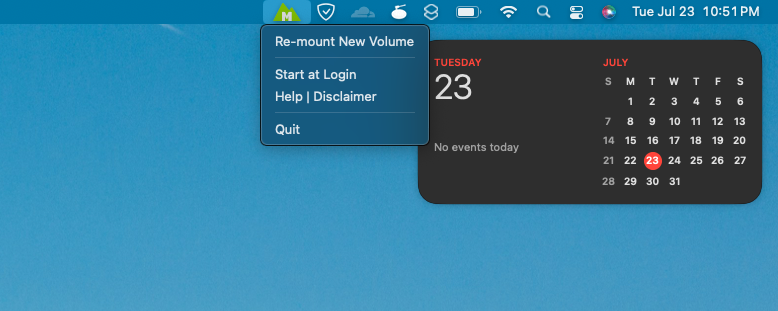
- Follow the on-screen instructions, and you’ll see a new M icon on your menu bar. Click it to access Mounty’s options.
- Connect your drive to your Mac and select the Re-mount option. When prompted, enter your Mac’s password.
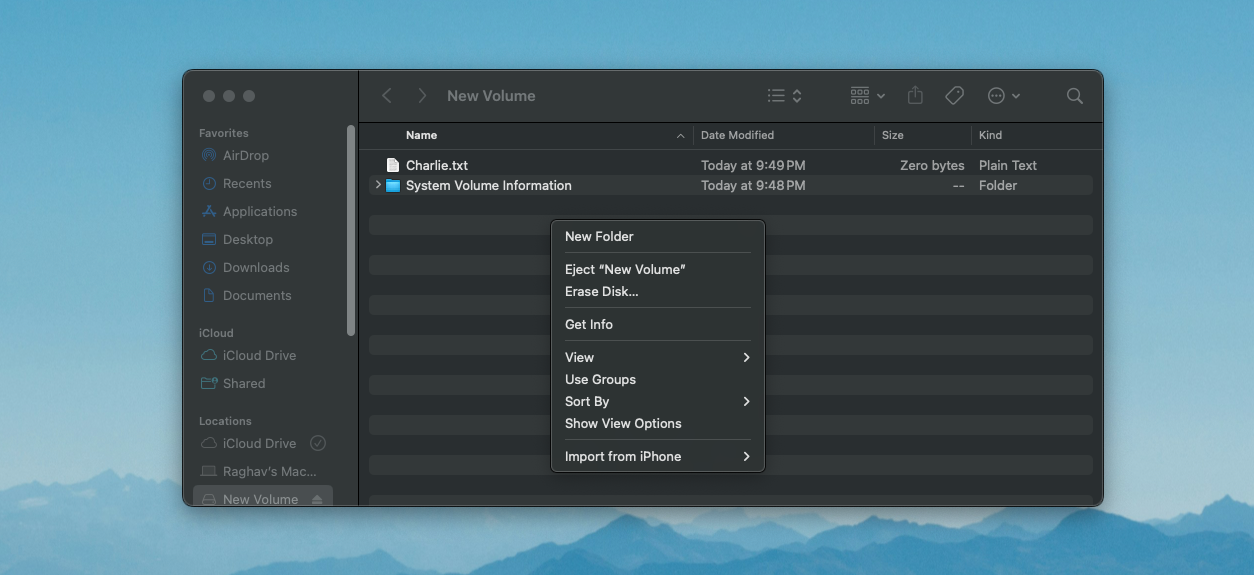
- A new Finder window will open automatically, allowing you to write to your NTFS drive as you would with any other drive.
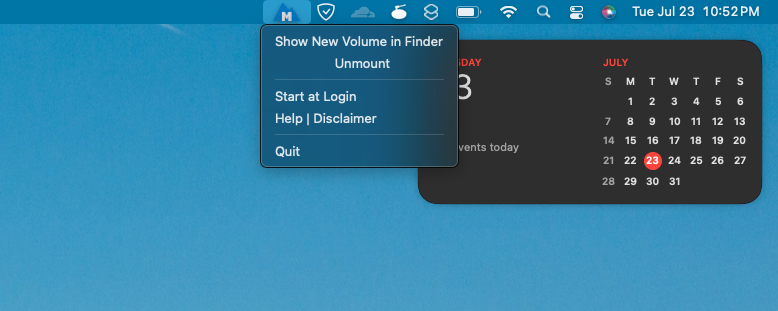
- When you’re done, unmount the drive by selecting the Unmount option from Mounty’s menu.


If you’re facing issues with Mounty, you can also try other apps like Microsoft NTFS for Mac by Paragon. But note that it only comes with a 10-day trial, and you’ll need to pay for a license once the trial expires.
3. Use Virtualization Software to Write to NTFS on Mac

You can also try running Windows on your Mac using Parallels or any other virtualization software to write to an NTFS drive. However, keep in mind that a virtual machine can take up a lot of disk space.
It’s worth considering this option if you already virtualize Windows on your Mac for some other task. If you have an Intel Mac, you can also install Windows on your Mac alongside macOS, giving you the best of both worlds.
However, if you want to work seamlessly between Windows and macOS, having a drive formatted in either FAT32 or ExFAT will save you a lot of time and effort. The key is to configure the external drive before you fill it with important information.